Metallurgical Analysis Methods
In the automotive industry, companies have recently faced fierce competition in using materials that reduce weight while improving rigidity. With the adoption of higher performance materials, there is an increased demand for higher accuracy, usability, and speed for the observation and analysis of metal structures.
This section introduces background information on metallurgical analysis, and problems seen when using conventional microscopes. This section concludes with the latest examples of using KEYENCE's 4K Digital Microscope for metallurgical analysis.
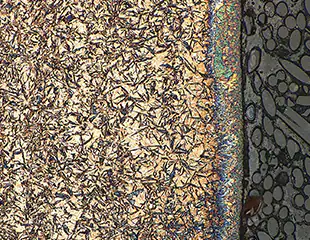
- 金相的必要性
- Metal Structures and Changes Due to Temperature
- Using Microscopes for Metallurgical Analysis
- Latest Examples of Metallurgical Analysis
- Metallurgical Analysis Required by Industry Leaders
金相的必要性
Metallic materials are used in a wide range of fields, from automotive and aviation to infrastructure, electric appliances, and electronic devices. Different metals and alloys are selected and used according to each application. However, even with the exact same metallic and alloy components, mechanical properties differ depending on the metal structures. Analysis allows for evaluation and judgement of material properties and their changes due to processing and heat treating, enabling better selection of suitable materials.
In automotive and aerospace, component failure can cost human lives, so the evaluation of mechanical properties is critical.
Mechanical properties of metallic materials
Mechanical properties, such as strength, rigidity, toughness, fatigue characteristics, and wear resistance change due to heat treating and processing, even if the same materials are used and contain the same ratios.
Metal Structures and Changes Due to Temperature
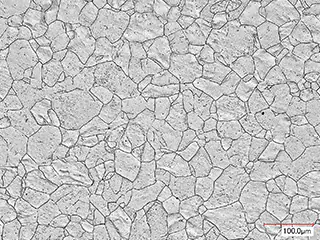
In general, metal structures consist of crystal structures in which atoms are arranged regularly, but not all atoms are always aligned regularly. Crystal structures in which many grains are arranged regularly are called polycrystalline structures, and boundaries between grains in an area where atoms are aligned irregularly are called grain boundaries.
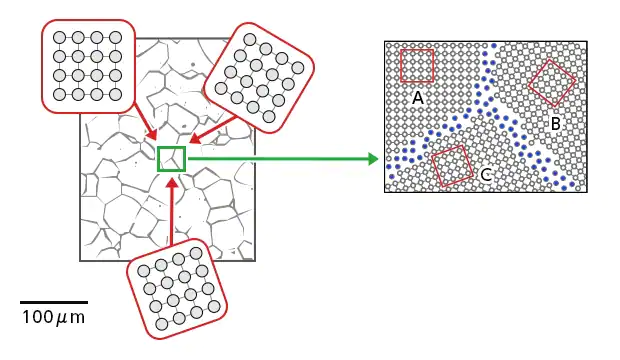
- Left: Polycrystalline metal composed of many grains
- Right: Grain boundary between grains
In the crystal structures, the grain boundaries change their patterns due to heat treating. Mechanical properties can be understood by analyzing the change in shape, size, and distribution of grains after heat treating.
As examples, structure changes in stainless steel (SS material) due to heat treating are described below.
- Austenite (SS304)
- Although this structure does not exist at room temperature, the structure for alloys of Fe and C becomes stable at a temperature of 723°C or above. Including alloy elements (Ni and Mn) that improve the hardenability results in a stable structure. The austenite structure that remains unchanged in the steel after quenching is called residual austenite.
- Martensite (SS410)
- A hard but brittle structure that is formed by rapidly cooling the austenite structure. By annealing martensite at 100 to 200°C, Fe3C is deposited, making this structure slightly tougher, but easier to corrode. The martensite in this state is called annealed martensite, to distinguish it from the quenched one.
- Ferrite (SS430)
- A structure that is similar to pure iron and contains up to 0.02% of C in Fe. It is a ferromagnet from room temperature to 780°C, and is ductile and the softest of the iron and steel structures.
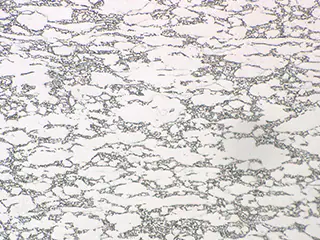
通过缓慢冷却钢结构an austenite state is called perlite.The interval between layers differs depending on the cooling speed. It is called perlite because extremely thin alternate layers of ferrite and Fe3C provide a pearl shell-like color.
Using Microscopes for Metallurgical Analysis
The process for creating a sample and analyzing it using a microscope is described below.
1. Embedment
The metal sample is placed in a cylindrical container and resin is slowly poured over it to harden. In this step, close attention is required to prevent bubbles from forming.
2.抛光
示例使用防水抛光磨料paper and a surface polishing machine. Typically, SiC papers ranging from 80 to 2400 are used for wet polishing. In precision polishing, synthetic silk sprayed with diamond grains and lubricant is used to polish the sample until a mirror-like finish is achieved.
3. Etching (corrosion)
The polished surface is soaked in an etching solution, then washed, soaked in alcohol, and dried.
4. Structure observation with a microscope
The polished surface is observed with a microscope to view changes in the structure. Advanced measurements, such as non-metal inclusions, spheroidization, and ferrite/pearlite ratios need to be calculated.
Latest Examples of Metallurgical Analysis
KEYENCE's VHX 4K Digital Microscope drastically improves the efficiency of observing and analyzing metallic samples, and enables all measurements to be performed with only one device.
Metallurgical analysis using fully-focused images
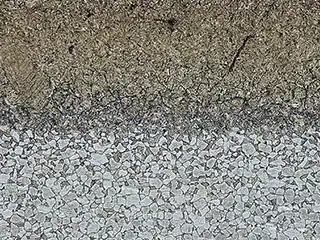
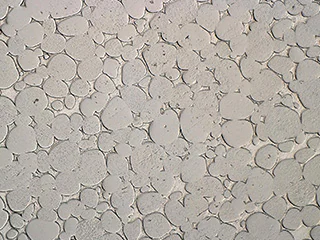
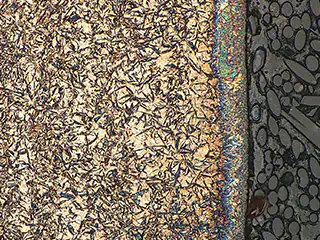
Polished surfaces typically are not perfectly flat, requiring the sample to be repositioned and the microscope's focus to be continuously adjusted.
The VHX Series has a built-in depth composition function, enabling the entire sample to be brought into focus and observed, even if the surface is not flat.
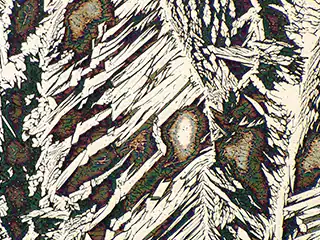
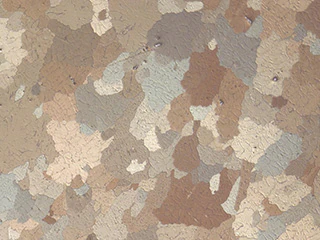

Clear 4K HDR images
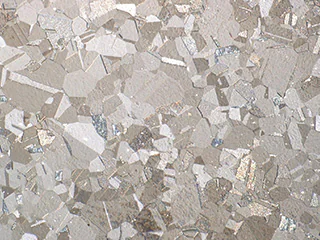
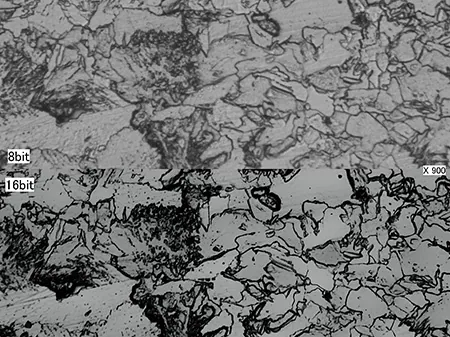
Conventional microscopes typically lack the resolution to observe small microstructures or faint-colored structures.
VHX系列4K数字显微镜配有HDR(高动态范围)功能,可以不同的快门速度捕获具有高色灰度的多个图像。这使得可以观察具有体育更高水平的图像的细节结构,并且由于分辨率和对比度的限制而无法观察到通常无法观察到。
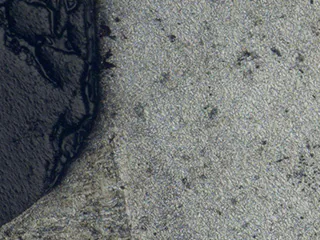
Large-area images captured through high-speed image stitching
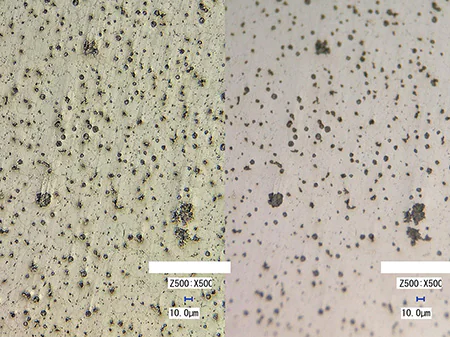
Conventional microscopes can capture high-magnification images, but are limited to a small field of view. This makes it difficult to understand which part of the sample the image comes from.
VHX系列能够快速将多个图像(最多50,000 x 50,000像素)一起缝合,没有错位。然后可以使用此图像来导航样本,并放大以捕获高倍倍率图像以进行进一步分析。

One-click measurement of metal structures
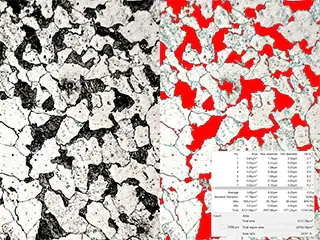
With a conventional microscope, you cannot quantitatively evaluate the quality of heat-treated ferrite or perlite according to its area ratio.
The VHX Series 4K Digital Microscope is equipped with an automatic area measurement function. With just a few clicks, the VHX Series captures a magnified image, automatically quantifies the area ratios and grain sizes of the metal structures, and outputs a report.
Graphite spheroidization observation and area ratio measurement
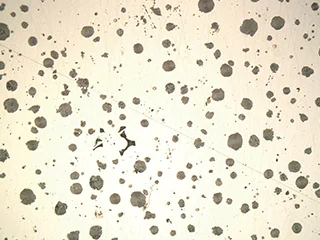
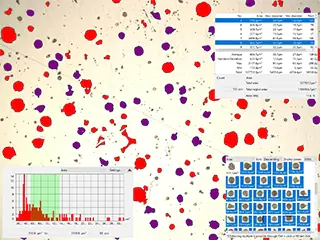
Conventionally, advanced measurements such as non-metal inclusions, graphite spheroidization rates, and the ferrite/perlite area ratio have required the use of separate pieces of dedicated software.
The VHX Series 4K Digital Microscope is equipped with an automatic area measurement/counting function. With simple operation, this function can measure and count an area ratio within a specified range. Targets that are not required can be excluded, and overlapping targets can be separated. This enables you to view advanced measured values in a table or graph at the same time as you perform observations with a microscope.
Metallurgical Analysis Required by Industry Leaders
Every company strives to become an industry leader in the areas of new materials and processing technologies.
By using the VHX Series for metallurgical analysis, any operator can perform high-accuracy observation and measurement in a fraction of the time required by conventional microscopes.
Equipped with many other advanced functions, the VHX Series can be a powerful tool for industries that require both speed and accuracy in material selection.
有关其他产品信息或查询,请单击下面的按钮。


